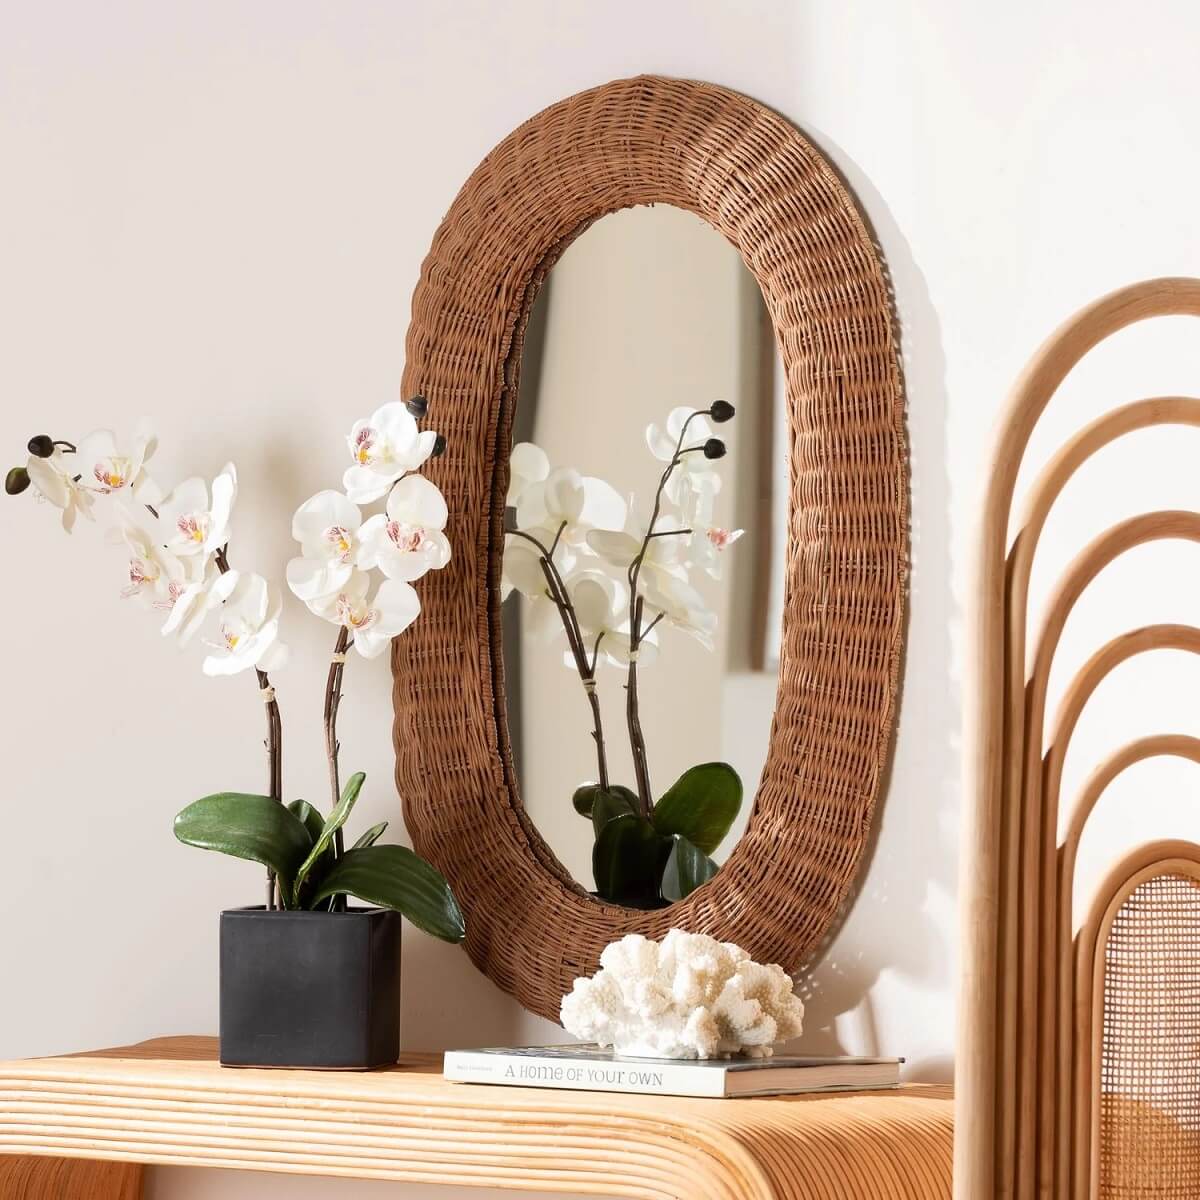
In today’s world, rattan is everywhere, woven into furniture, light fixtures, headboards, and on those gorgeous boho mirrors on the internet. The only problem is that they can set you back with some $80, $150, even $300.
And that’s a hard pass.
Here’s the good news, though. With a plain mirror, some rope or rattan cord, and a hot glue gun, you can Make a Faux Rattan Mirror that looks just like one from a home décor store.
Imagine the satisfaction of knowing that for less than $20, no special skills and fancy tools, but a little patience, you made something that could have cost you a fortune.
Whether you’re refreshing your entryway, adding texture to a gallery wall, or trying out a good budget DIY, this project delivers maximum impact for less. Let’s get into it.
Materials Required
For the mirror base:
- A round or oval frameless mirror (check dollar stores, thrift shops, or Facebook Marketplace). Aim for something in the $5 to $10 range.
- Foam board or cardboard for building the frame base. (dollar store foam board works perfectly)
- A craft knife or box cutter with a fresh blade
- Brown spray paint (a shade like “nutmeg” or “walnut” works well)
For the rattan wrapping:
- One large bag of natural raffia
- A hot glue gun and plenty of glue sticks
- Scissors
- A small brush and wood stain if you want a darker, richer tone (Optional)
Note: Your total spend should sit just under $20, often closer to $15 if you shop smartly. The mirror is really the variable. Thrift stores and Facebook Marketplace are your best friends for keeping costs low.
How to Make a Faux Rattan Mirror on a Tight Budget Step by Step
Step 1: Build Your Frame Base
The frame is essentially a ring cut from foam board that will sit around the edge of your mirror and serves as the surface you wrap the raffia around.
First, lay the mirror face-down on the foam board and trace the outline with a pencil. Then draw a second circle (or oval) about two to three inches outside the first one. That gap between the two lines is your frame width.
Next, cut along both lines carefully with a fresh blade. Do not tear the foam because the rough, jagged edges are harder to wrap neatly.
Once your frame ring is cut, spray it brown on the front and edges to seal any tiny gaps that might peek through.
Let the paint dry completely before moving on.
Step 2: Twist the Raffia into Rope
Pull the raffia strands from the bag a few at a time, and start twisting them together into a rope.
As you twist, add small dots of hot glue at intervals to hold the shape. This is important because unglued twisted raffia will unravel on you, and that’s frustrating when you’re trying to wrap a mirror frame.
The rope doesn’t need to be perfect or uniform. Natural irregularity is actually part of the charm because it mimics the organic inconsistency of real woven rattan. Keep making rope until you have enough to wrap your entire frame several times over.
Note: The thickness depends on how chunky you want the finished look.
Step 3: Wrap the Frame
Start at the back of the frame base. Apply a line of hot glue to the back edge and press the end of your raffia rope firmly into it, holding it in place for a few seconds until the glue sets.
Then begin wrapping the rope around the frame, working your way around in tight, snug loops. Add glue as you go, not too much at once since it sets fast, but enough to keep each row firmly in place. Press each new row snugly against the previous one.
You’re essentially coiling the rope around the frame like you’d coil a garden hose, except that this ia much neater and with purpose.
Work slowly around the curves, and if your frame is oval, the curved ends need a little more patience because the rope tends to slide. Therefore, hold it in place for a beat longer when applying glue on those sections. Once you’ve covered the entire front and outside edge of the frame, wrap the inside edge as well. This is visible when the mirror is hung, so don’t skip it.
When you reach the back, tuck the end of the rope under the last row, add a good dot of glue, and press it flat.
Lastly, trim any stray wisps of raffia with scissors for a cleaner finish.
Step 4: Join the Frame to the Mirror
Once the frame is fully dry and looks good, it’s time to attach it to the mirror.
Do this by applying a ring of hot glue around the back edge of the frame and carefully pressing it onto the front face of the mirror, centering it as well as you can.
Even though hot glue bonds quickly, mirrors can be slippery, so hold it firmly for a minute or two to let the glue fully set before letting go. If any gaps appear between the frame and the mirror face, carefully run a thin bead of glue along the seam to tighten it.
For hanging mirrors, a simple loop of folded raffia rope, hot-glued to the back of the mirror, works surprisingly well for lighter mirrors.
If your mirror is on the heavier side, use a sawtooth hanger or a small D-ring from a hardware store.
They cost less than a dollar each and offer much better security.
Step 5: Finishing Touches
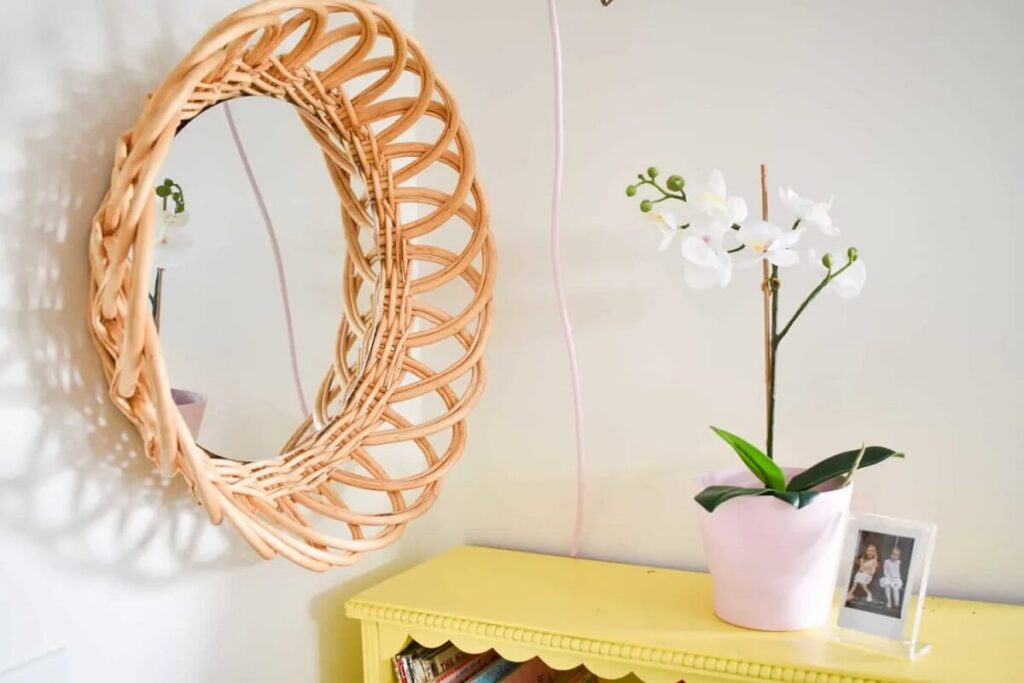
This is the stage where you add a few details for a more personal touch.
If the natural raffia color feels a little pale or washed out against your wall, mix a tiny amount of brown wood stain or even a drop of walnut-tinted paint into water and lightly brush it over the finished frame. This deepens the tone and adds the kind of aged, sun-baked warmth that makes rattan feel genuinely organic.
Let it dry completely before hanging.
Alternatively, add a second inner frame, a thin rope coil pressed right at the inner edge of the mirror for a layered, more sophisticated look.
This means adding some more minutes of work, but the outcome is a lovely double-frame design you see on higher-end rattan mirrors. Which is worth the chase.
Moreover, you can also tuck small dried flowers or pampas grass wisps between rows of raffia for a romantic, botanical touch. It sounds fussy, but it’s actually quite quick and can make the mirror look like something out of a lifestyle magazine flat-lay.
Step 6: Hang It

Just like any other homeowner or designer out there, I bet your decision to Make a Faux Rattan Mirror came about because you had an idea of where to place it.
In fact, a faux rattan mirror works beautifully in almost any room, but certain spots amplify its beauty.
Take, for instance, an entryway with maximum visibility, where, as people walk in, they immediately feel a sense of warmth.
In bathrooms, hanging a faux rattan mirror above a simple floating vanity elevates the functional space without requiring a full renovation. In bedrooms, hang it above a dresser or lean it against a wall for a relaxed, boho-editorial feel.
Since rattan is a tactile, organic material, it marinates well with some negative space around it rather than being crowded by other frames or art. So let it breathe.
If the mirror is large, use it as a living room focal point, especially in a gallery wall that mixes textures. Pair it with linen, ceramic, and wood elements to pull everything together with minimum effort.
Check out some vanity ideas in my earlier article about Cheap Bathroom Vanities with Tops Under $250
A Few Pro Tips to Keep in Mind
First, hot glue can and will string; therefore, keep a small bowl of cold water nearby to dip your fingers in case you touch a hot strand.
Second, use a toothpick or the tip of a pen to press down glue in tight spots rather than your fingertips. This saves you from minor burns and also gives you more precision.
Third, if your raffia starts to split or fray as you work with it, dampen your hands slightly. Some moisture makes the fibers easy to work with.
Finally, don’t rush the frame-cutting step. The neatness of your finished mirror depends almost entirely on how cleanly the foam base is cut.
Conclusion
In a world of endless scrolling through aesthetic inspiration that we might never quite afford, that’s how you make a Faux Rattan Mirror for under $20. It’s affordable, achievable, and proof you can make your own designer mirror from scratch.
As you have seen, this DIY project doesn’t need a big budget, and with a basic mirror, some hot glue, and rope or twine for the rattan effect, you can pull off a piece that looks like it cost ten times more.
When it comes to perfection, don’t stress so much. Part of the charm of faux rattan is its slightly imperfect, handmade texture, so any wobbles in your wrapping add to the natural look.
I trust the information in this article has been helpful, and it’s my hope it has motivated you to give it a try instead of spending a fortune at a home decor store. Also remember to share how your DIY comes out.
Featured Image Credit: American Rattan