Ever scrolled through designer-styled rooms and left wondering how you, too, can make yours look more expensive? You are not alone.
I used to be exactly like you. It wasn’t until I tried the DIY Wall Art Ideas That Look High-End listed below that I started feeling the ‘wow’ vibe in my living room. For once in my life, I could tell that even my friends acknowledged that my home looked more expensive.
Read more: How to Make your Home Feel More Expensive.
And you know what? This wasn’t from having top-dollar art pieces, but from learning a few DIY Wall Art Ideas to play around with what I had.
It’s from how you frame your art to how much breathing room it gets on the wall that the final look is dictated.
So let’s look at different DIY Wall Art Ideas that are easy to put in place at a low cost.
Designer-Inspired DIY Wall Art Ideas for a More Refined Home
Start Big with Textured Plaster Art
Textured plaster art looks like something from a boutique gallery, and it costs about as much as a tub of joint compound and a canvas.
The basic way to do this is to start with a large stretched canvas or, even better, a thin wood panel, since heavy compound can make flimsy canvas bow.
Using a wide putty knife or drywall knife, spread the lightweight joint compound across the surface with sweeping strokes. Build the ridges, swoops, or soft waves, then let it dry. This takes about a day or so, depending on thickness.
Next, paint your art (optional). You can opt for plain white if you want it to look like sculpted limestone. Or use warm greige or a soft clay color for a modern, earthy look.
Either way, the shadows by the ridges change throughout the day, which is why it looks so alive on a wall.
Pro Tip: Apply compound in thin layers and work on it while it’s still wet. Avoid overworking as it might lead to muddy streaks. And if you hate a section, scrape it off and start again. It’s wonderfully forgiving.
Paint an Abstract Piece
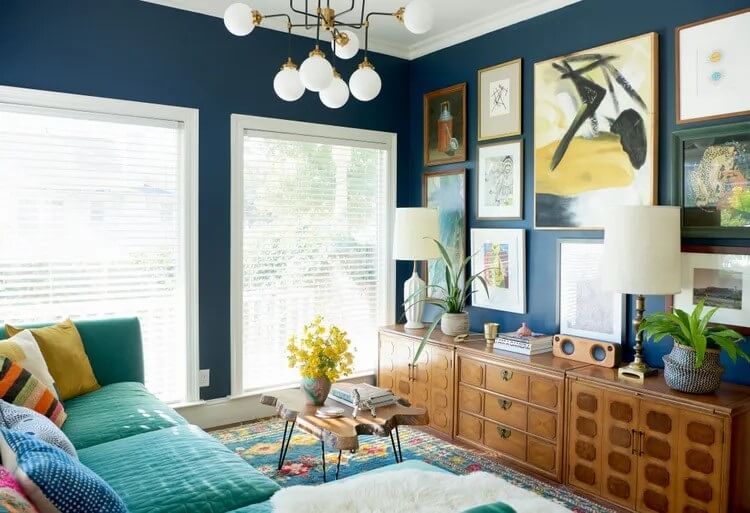
Abstract art can feel intimidating, especially for a beginner who doesn’t know where to begin and has no subject to copy.
In this case, try a color-block approach using the paint colors that are already in your room. Then use painter’s tape to section off a large canvas into clean geometric shapes.
Paint each section, peel the tape while the paint is still slightly tacky, and you’ll get crisp edges that look professionally done.
Sample-size paint pots from the hardware store are perfect for this, since you only need a small amount.
If you prefer something softer, go for a loose, gestural look instead. For instance, dilute acrylic paint with a little water, brush broad arcs across the canvas and stop when you are almost done to leave plenty of blank space.
Whichever style you choose; the palette decides the final look.
Frame Fabric, Wallpaper, and Other Surprising Materials
Here’s a project that needs almost no artistic skill. Take something beautiful that isn’t technically art, and frame it like it is.
You’ll be surprised at how much of a difference a stretch of quality linen, a vintage scarf, a block-printed textile, or a roll-end of designer wallpaper can bring to your wall art.
Also, wallpaper sample books come in handy, because many shops will sell or even give away discontinued samples cheaply. A single oversized sample, framed with a wide mat, looks like a limited-edition print.
To make it work, iron or steam the fabric flat, then mount it on a piece of foam core using spray adhesive or acid-free tape then slip it into a frame with a generous mat.
Let the Frame Do the Heavy Lifting
A mediocre print in a beautiful frame often looks better than a beautiful print in a flimsy one. Frames are the jewelry of wall art, and thrift stores are full of solid ones waiting for a second life.
Look for those chunky wood or ornate gold frames at secondhand shops, then update them with paint. Use matte black for a modern and dramatic look or, a warm gold or brass-toned spray paint for a more classic vibe.
A natural wood stain on the other hand, looks Scandinavian and calmer.
Next, think about mats and how you want them to add to the final look. Standard mats are usually a couple of inches wide, but oversized mats, three or four inches or more, are a hallmark of gallery presentation.
Therefore, if you’re framing a small piece, a wide mat can make it feel substantial without making the artwork itself any larger.
At times run out of ideas of which art to print at home, good thing is, public domain collections such as the Met’s Open Access program are a fantastic free resource. The Open Access program offers many works from its collection as free downloads, with no permission or fees needed.
Add Dimension with Simple Relief Pieces
Flat art is lovely, but pieces with depth catch light and shadow in a way that feels truly luxe.
One easy way is a wood slat panel.
Start by cutting thin strips of lumber or craft wood, sand them smooth, and glue them in a vertical or staggered pattern onto a backing board.
Next, stain them in two or three tones, or paint them a single color, and you get a sculptural piece that echoes the ribbed paneling popular in high-end interiors.
Another way is a paper or air-dry clay relief.
In this one, roll out clay, cut organic shapes like leaves, arches, or circles, and arrange them on a painted board. Once the shapes are dry, paint the whole thing in one color so the shadows become the design. It’s tonal, quiet, and very upscale.
The advantage of using a single color across a dimensional surface is that it looks more expensive than using many colors. The reason is that the eye reads shadow and form rather than busy color details.
Build a Gallery Wall That Looks Organized
Gallery walls have a reputation for going wrong. But with good planning, nothing major can go wrong.
When building a gallery wall, start by cutting craft paper or newsprint to match each frame’s size, then tape the templates to the wall and shuffle them around until the arrangement feels balanced.
This lets you fix your layout before putting a single hole in the plaster, hence less damage to the wall.
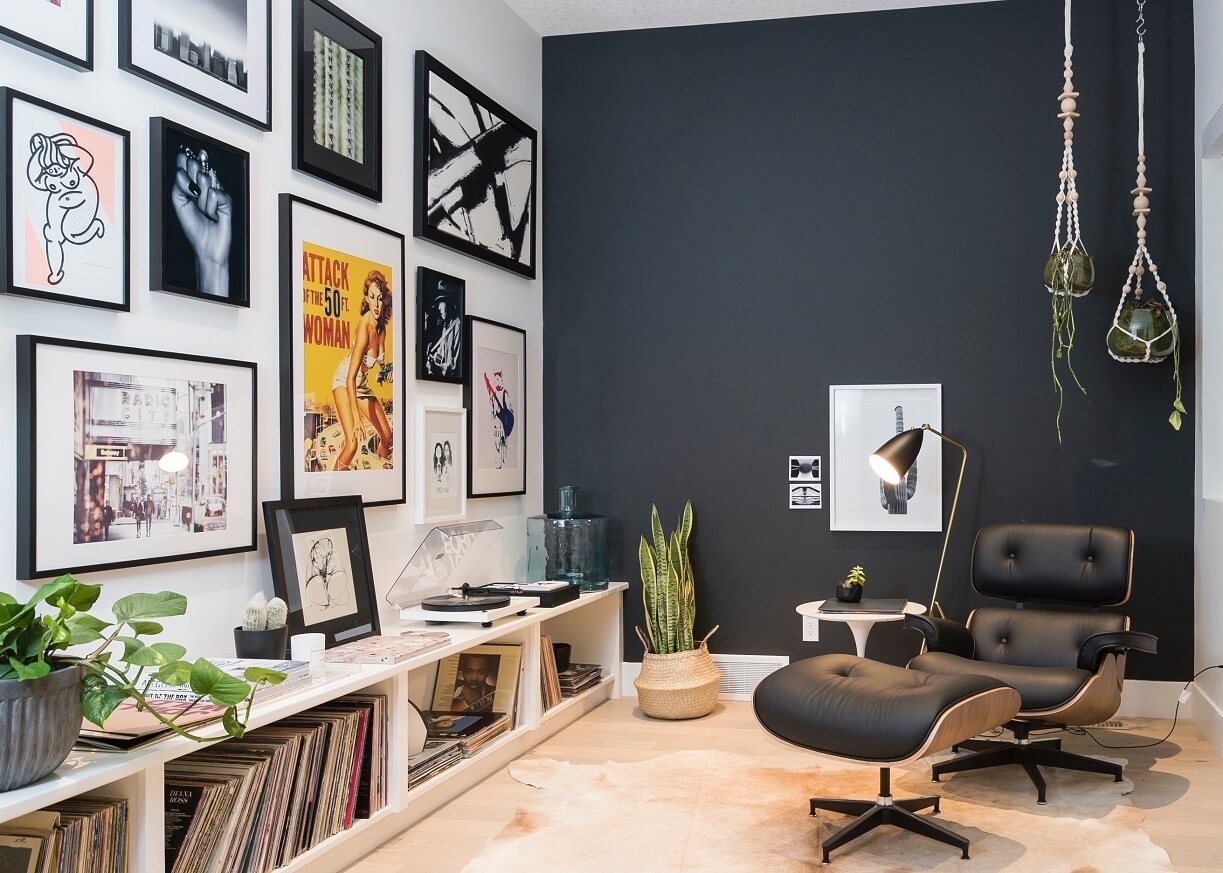
The next thing to do is to build in consistency by matching frames in one finish, whether all black, all oak, or all brass, to instantly unify your artwork mix. Keep the spacing between frames tight and even, typically around two to three inches, so the group reads as one big piece instead of scattered parts.
Finally, mix your content by combining a textured piece, a framed print, and maybe a small mirror or fabric piece to create a rhythm across the wall and tie everything back together.
Now that your art is made, the last step is to elevate the art by hanging it.
Read: 7 No-Drill Decor Ideas for Renters
Hang It Like a Pro
The most common mistake is hanging art too high. A widely used guideline (the Eye-Level Rule) in galleries and museums is to place the center of the artwork at about 57 to 60 inches from the floor, which roughly matches average eye level.
If you want it furniture, leave about 6 to 8 inches between the bottom of the frame and the top of furniture, might be a sofa or a console table, so the two feel connected. Aim for art that spans roughly two-thirds the width of the furniture beneath it to keep the proportions pleasing.
While at it, put in place a plug-in or a battery-powered picture light above a canvas to give the art a museum glow, especially for textured pieces.
If the wall still feels empty after all that, resist the urge to fill it. Negative space is part of the design, and it’s what lets good art breathe.
Conclusion
A polished, high-end space is well within reach, and a little creativity goes a long way. These DIY Wall Art Ideas show that texture, scale, and thoughtful framing do most of the heavy lifting.
Whether you try a plaster-textured canvas, an oversized abstract piece, or a gallery wall with matching frames, the key is to choose a cohesive color palette and give each piece room to breathe.
So pick one project this weekend and start small. Once you see how much a single handmade piece can elevate a room, you’ll be reaching for the paint, canvas, and brushes again.
Your walls are a blank slate, and with these DIY Wall Art Ideas, they can become the most stylish part of your home.
Featured Image Credit: The Financial Diet