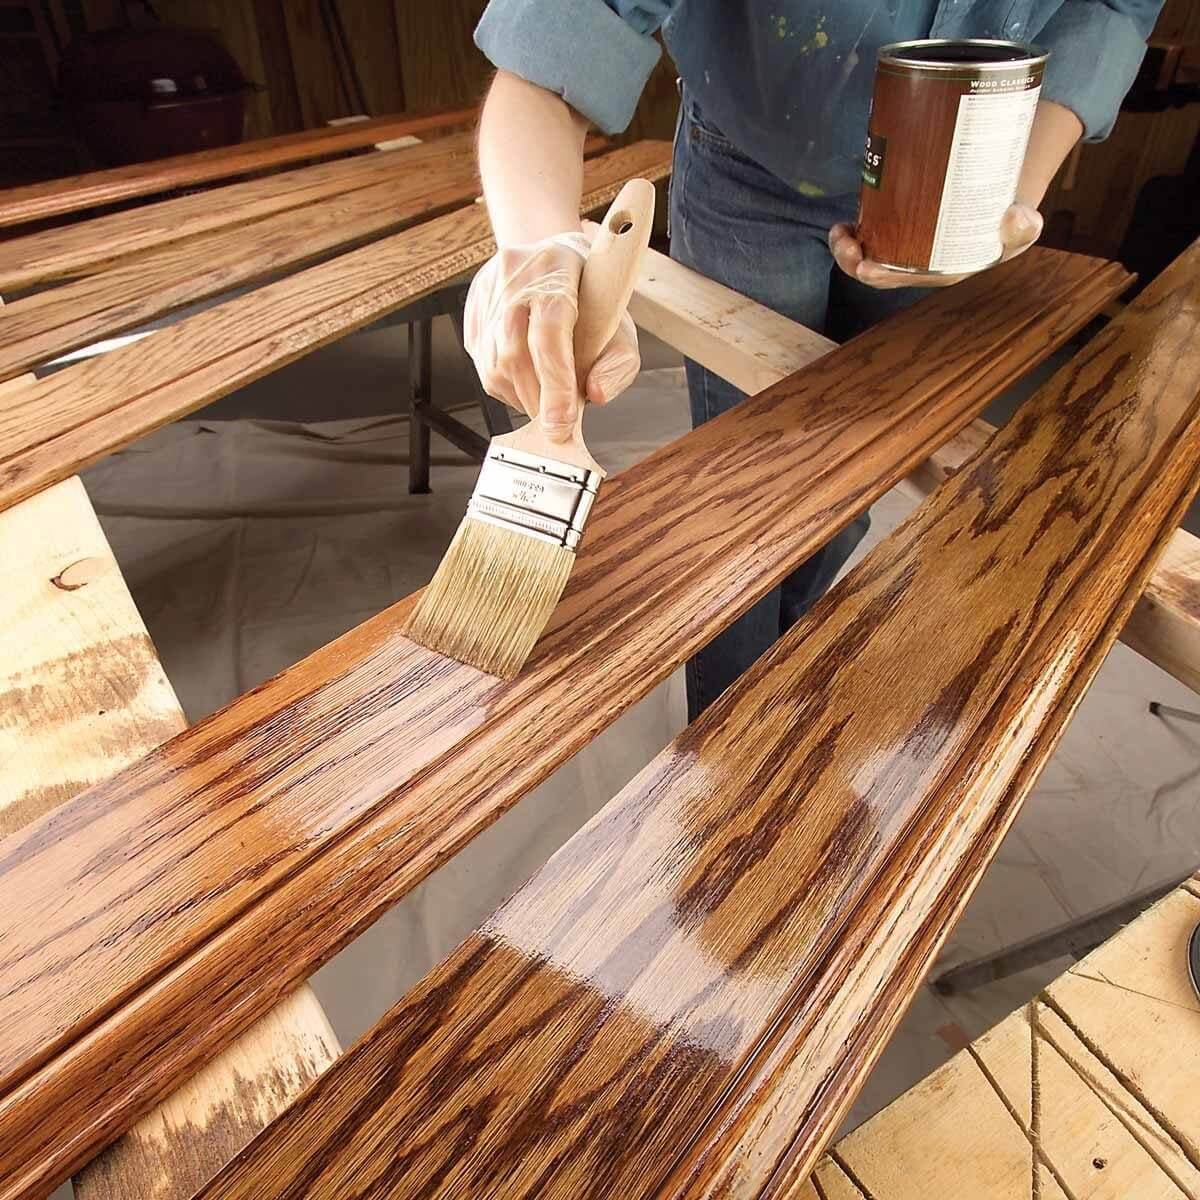
Today’s article is about ‘13 Steps on How to Finish Wood Trim for Beginners’. Finishing wood trim means applying a coating that changes its appearance, protects the surface, or does both.
For most indoor trim, that usually means painting, staining, or applying a clear protective finish. Paint gives you an opaque color, whereas stain changes or enhances the color while allowing the wood grain to remain visible. A clear finish, such as polyurethane, protects the wood while maintaining its natural appearance.
Wood coatings serve practical purposes as well as decorative ones. The U.S. Environmental Protection Agency describes coatings as being used for protection, appearance, and surface modification, particularly because wood can be affected by moisture, temperature changes, light, and other environmental factors.
So before reaching for a brush, decide how you want the trim to look after finishing, and that will determine which finishing products to buy.
With that in mind, let’s look at 13 steps on How to Finish Wood Trim Step-by-Step Guide.
Everything You Need to Know About How to Finish Wood Trim, from Sanding to the Final Coat
Step 1: First, Figure Out What Kind of Trim You Have
You might be working with solid pine, oak, poplar, maple, cedar, MDF, plywood, or previously painted trim. And different wood materials accept stain better than others. Some need special primers, and some are much easier to paint than to stain.
The most common include:
- Solid Wood
This is the most flexible option, and you can generally sand it, stain it, paint it, or protect it with a clear finish, provided the existing coating and condition of the wood allow for it.
Knowledge of which species the wood comes from matters, too. Pine, for example, can absorb stain unevenly because it has areas with different porosity. That can create dark and light patches that look accidental rather than charming.
For porous woods, a pre-stain conditioner such as Minwax helps create more even stain absorption. Most manufacturers recommend this approach for woods such as pine, fir, alder, aspen, birch, and maple.
- MDF Trim
MDF, or medium-density fiberboard, is common for interior trim because it’s smooth, stable, and easy to paint.
The important detail is that MDF lacks the natural grain you’re trying to showcase with stain. For that reason, paint is generally the sensible finishing touch. Pay attention to cut edges as they can be more absorbent than the smooth factory face, and may need extra preparation and primer.
Learn more on: MDF vs Particle Board: Which is Cheaper or Better?
- Previously Painted Trim
Old painted trim requires checking whether the existing paint is firmly attached, glossy, or peeling. Check for dents, nail holes, or cracks as well before embarking on the finish work. If the existing coating is sound, some cleaning, light sanding, repairing imperfections, and priming where appropriate can be enough.
However, if yours is an older home, be extra cautious as sanding old paint can create hazardous dust, particularly if lead-based paint is present.
That‘s why EPA recommends taking special precautions when preparing older painted surfaces and notes that homes should be treated as potentially containing lead-based paint unless testing shows otherwise.
Step 2: Choose Your Finish Before You Start
Do you want crisp white trim, a deep walnut tone, warm natural oak, or soft and understated?
Think about the room rather than choosing a finish in isolation. Below are three key things to guide you.
- Paint
Paint is the most forgiving choice for beginners and works especially well for MDF, poplar, pine, and previously painted trim.
For interior trim, satin and semi-gloss finishes are popular because they are easy to clean and they hold up well to everyday knocks and fingerprints. Sherwin-Williams, for example, recommends latex semi-gloss or gloss for painted bare wood and notes that trim often benefits from durable, washable finishes.
Semi-gloss gives you more shine and makes architectural details stand out. Satin is softer and more understated.
- Stain
Stain works well on attractive species with visible grain, but requires more preparation because every sanding mark, glue spot, filler patch, and uneven area can become obvious once color goes on.
- Clear finish
A clear finish is useful when you love the natural color of the wood and simply want to protect it.
Polyurethane and other clear finishes are available in different sheens, from matte to glossy. It is worth noting that some finishes can slightly warm or amber the appearance of wood, while water-based products often preserve a lighter look.
Tip: Paint hides more imperfections, stain reveals more of them, while clear finishes let the wood itself take center stage.
Step 3: Gather the Right Supplies
For a typical interior trim project, you’ll want:
| Sandpaper, such as 80, 120, 180, or 220 grit |
| Sanding sponge for profiles and corners |
| Clean cloths |
| Vacuum or dust brush |
| Painter’s tape |
| Wood filler or suitable patching compound |
| Putty knife |
| Primer if painting |
| Your chosen paint, stain, or clear finish |
| A good quality angled brush for painted trim |
| A suitable brush or lint-free cloth for stain |
| Drop cloth or protective covering |
| Gloves |
| Eye protection |
| Appropriate respiratory protection when required by the product or work conditions |
Step 4: Clean the Trim Thoroughly
Trim collects grime from dust, fingerprints, cooking residue, cleaning products, and general household dirt that collects along baseboards and around doors.
That’s why you should thoroughly clean the trim surface before sanding.
Use a suitable household cleaner and allow the trim to dry completely.
NB: Clean, dry trim gives your finish a much better starting point.
Step 5: Inspect the Trim for Damage
After cleaning and drying, check for nail holes, tiny dents, old caulk, cracks, scratches, or chips.
Fill nail holes and small imperfections with an appropriate wood filler or patching product, allow the repair to dry, and sand it smooth.
Tip: Run your fingernail over the trim to feel any damage your eyes can’t see.
Step 6: Sand the Wood Trim
The goal is to create a smooth, suitable surface for the next coating.
For relatively smooth trim being prepared for paint, 120 grit is often sufficient. Sherwin-Williams recommends starting around 120 grit on smooth trim and moving to coarser paper such as 80 grit when the surface is rough, followed by finer sanding.
When sanding natural wood for stain, follow the product instructions carefully. Some stain systems recommend finishing with 220 grit on bare wood.
If you’re working on old painted trim, check what the existing coating might contain before creating dust. Especially for older homes, lead-safe practices are important, as the EPA warns that sanding can release lead-containing dust when old lead-based paint is present.
Tip: Always sand with the grain on visible wood, sand enough to smooth and prepare the surface, and avoid destroying its shape.
Step 7: Remove Every Bit of Sanding Dust
Fine sanding dust settles everywhere in grooves, corners, and tiny spaces that you can’t easily see.
Vacuum the area, then wipe the trim with a clean, lint-free cloth. Wipe off the dust before and after priming.
Be careful with damp cloths on bare wood as they can introduce unnecessary moisture before finishing.
Step 8: Prime the Trim Before Painting)
Primer helps create a suitable surface for the topcoat and is especially useful over bare wood, patched areas, and surfaces where stains might bleed through.
If it’s a previously coated trim, you need not prime every square inch with the same product, but bare areas and repaired spots need attention. When adhesion or stain bleed is a concern, use a primer designed for that.
Before proceeding, let the primer dry, after which you lightly sand to remove the dust.
Pro tip: A smooth primer coat gives your paint a much better foundation.
Step 9: Paint the Wood Trim
For most trim, an angled brush gives you good control around corners and profiles.
Work in manageable sections rather than loading the brush and trying to cover an entire baseboard at a go. Apply the paint smoothly, then lightly draw the brush along the freshly coated section to even out the surface.
It’s advisable to use short strokes to apply the paint and longer strokes to smooth while the coating is still workable.
Why you should keep the coats thin
A heavy coat can sag, drip, wrinkle, or remain soft underneath while the surface feels dry. Let each coat dry according to the product instructions before applying the next.
Read more about What Is Chalk Painting? And Why It Matters
Step 10: Sand Between Coats
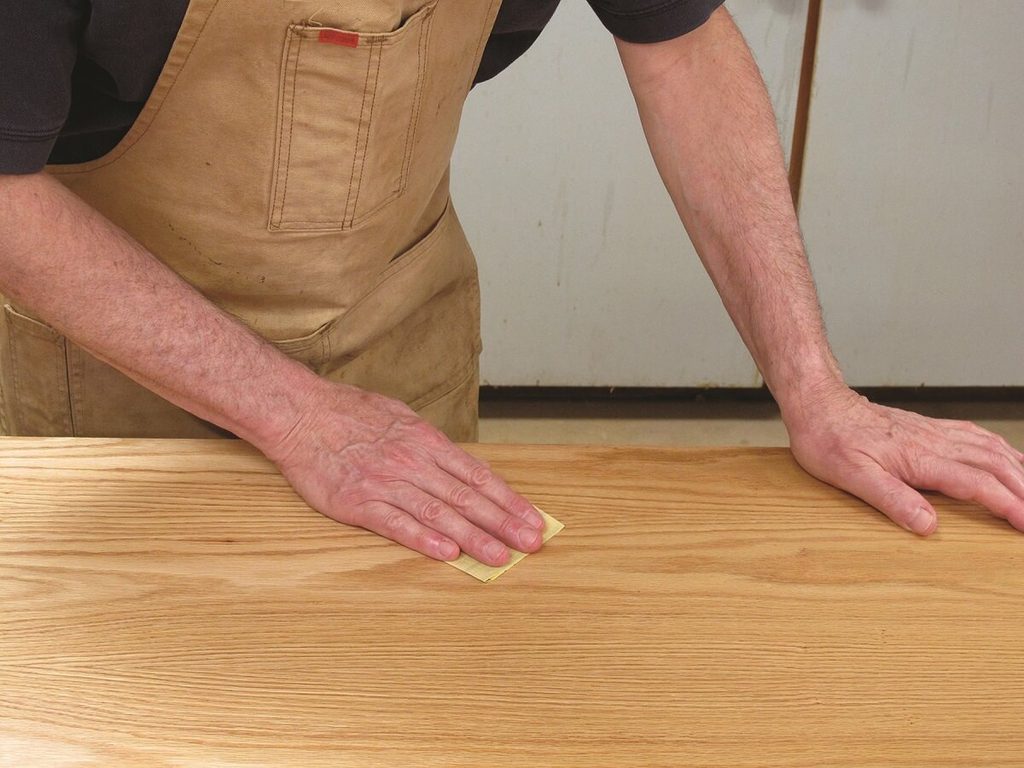
Light sanding between coats removes tiny blemishes and leaves the surface smoother.
Use fine sandpaper and a light touch to polish the surface, without stripping off the paint. Then remove the dust before applying the next coat.
Step 11: Stain the Wood Trim
Start with clean, bare wood and sand according to the stain manufacturer’s instructions. For many stain systems, 220-grit sanding is recommended for the final preparation of bare wood.
Then remove every trace of sanding dust and use a pre-stain conditioner when appropriate for soft or porous woods such as pine, which absorbs stain unevenly, producing blotchy areas that are difficult to correct afterward.
A pre-stain conditioner is designed to moderate how the wood accepts certain stains.
NB: Match the conditioner to the type of stain you’re using.
To apply the stain, brush or wipe the stain in the direction of the grain without covering an enormous length of trim. This ensures consistent stain application.
Then, wipe the stain according to the product instructions and timing not to affect the final color.
Pro Tip: With stain, the wood species is part of the color formula. Test it before committing to the whole room.
Learn How to Clean Dried Latex Paint Brushes Easily
Step 12: Protect Stained or Natural Wood with a Clear Finish
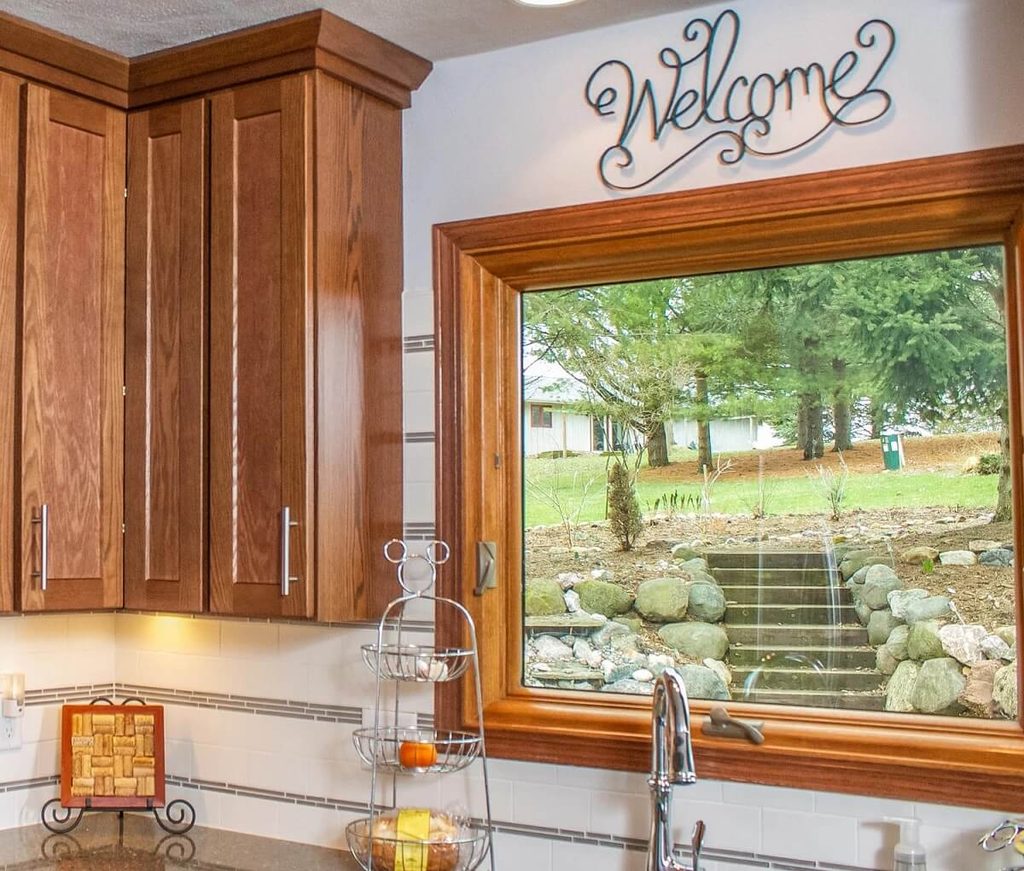
Since stain provides color and not protect the trim, it’s necessary to apply a compatible clear protective finish once the stain is dry. For instance, Polyurethane, a common option for interior woodwork. Other products include water-based protective finishes and specialty varnishes.
The sheen choice depends on your taste and preference. For example, if you want a softer appearance, go for satin. For an easier-to-wipe-clean surface, semi-gloss is your friend.
On the other hand, gloss creates a much shinier look and can emphasize imperfections.
For a beginner project, satin or semi-gloss is often easier to live with than a very glossy surface because extreme shine can make every tiny flaw more noticeable.
Step 13: Ventilation
Finishing products can release VOCs and other chemicals into indoor air.
The EPA notes that paints, varnishes, and similar products can release volatile organic compounds during use and sometimes while stored. It recommends providing plenty of fresh air when using products that emit VOCs and following label precautions.
That means opening suitable windows to improve airflow, using the appropriate personal protective gear, and avoiding unnecessary exposure while the finish dries.
NB: “Low VOC” can be useful information when choosing a product, but the EPA points out that a low-VOC label by itself doesn’t guarantee that a product is free from potentially harmful volatile chemicals.
Conclusion
As I conclude about ‘13 Steps on How to Finish Wood Trim’, let me summarize what you need to do to avoid common mistakes with finishing wood trim for beginners. Do not skip surface preparation.
- Use the appropriate primer.
- Do not sand aggressively
- Apply thin coats to avoid.
- Dust off before finishing.
- Give each coat the time it needs to dry.
- Do not ignore a test patch.
I trust that you have learnt a thing or two about ‘13 Steps on How to Finish Wood Trim’ and that the information will be of assistance when the time for that project comes.
Featured image Credit: Family Handyman