Concrete floors are a popular choice for many homeowners because of their durability and low maintenance requirements.
However, over time concrete can become stained and chipped.
One way to protect and seal your concrete floor is by applying a sealant. But, it can be tricky to know where to start. This step-by-step guide on sealing concrete floor will help make the process easy for you. Follow these simple tips and you’ll have beautiful, sealed concrete in no time!
What it Means to Seal a Concrete Floor
Concrete floor sealing is the process of applying a sealant to concrete to protect it from damage.
Concrete is a porous material, which means that it can absorb water, stains, and other materials. This can cause the concrete to crack, chip, or flake over time.
Sealing the concrete will help to create a barrier between the concrete and these materials, preventing them from causing damage.
There are a variety of sealants available on the market, and the type that you use will depend on the specific needs of your concrete.
In most cases, however, a simple penetrating sealer will be sufficient. Penetrating sealers work by creating an invisible barrier on the surface of the concrete that prevents water and other materials from being absorbed.
This type of sealer will not change the appearance of the concrete, but it will protect against damage.
Why Concrete Floors Need to be Sealed (Benefits)
1. Sealing concrete floors is a great way to protect them from stains, water damage, and other types of wear and tear.
2. Sealing also makes it easier to clean concrete floors, as dirt and debris will not be able to penetrate the sealant.
3. There are a variety of sealants available on the market, so be sure to choose one that is right for your specific needs.
4. Always follow the manufacturer’s instructions when applying a sealant to your concrete floor.
5. Once the sealant has been applied, you will need to wait for it to dry completely before walking on or using the floor.
6. Sealing concrete floors is an easy and effective way to prolong their lifespan and keep them looking their best.
7. If you have any questions or concerns about sealing your concrete floor, be sure to consult with a professional contractor or flooring specialist.
Steps for Sealing Concrete Floors Indoors
Step 1: Gather all the Tools and Materials
Degreaser – To remove any grease or oil on the floor
Stiff Brush – to scrape off stubborn dirt left by carpet or rag marks.
Putty Knife – To scrape off any residual mastic
Paint Roller – For applying an even coat of the sealer
Paint Sprayer – Spraying onto the concrete
Concrete Sealer – For filling existing cracks
Vacuum Cleaner – To clean up any water or debris
Chemical Stripper – To remove an existing old sealer if any
Step 2: Thoroughly Clean your Concrete Floor
You need to clean your floor thoroughly to get rid of dirt and debris. For the best results, do this in stages.
Stage 1 involves sweeping the floor thoroughly with a broom and dustpan, or a vacuum cleaner.
Stage 2 requires a deep clean involving the removal of paint, oil, grease, and mastic. Use a degreaser to remove grease or oil on your concrete floor. Using a putty knife and a hard brush, scrap off any mastic residue left by tiles or carpet. Finish by applying a citrus-based cleaner to any stubborn mastic.
Stage 3: Your floor is beginning to take shape but you’re not done yet. Next, you need to do another round of cleaning involving plenty of water and a detergent of your choice. Mop the floor thoroughly and let it dry overnight.
Step 3: Filling Up the Cracks
In process of tiling or natural wear and tear there’s bound to be pitting or cracks on the floor. If this is the case, you should fill up the cracks before applying the sealer.
Carefully apply a concrete crack sealer to all the affected areas and let it dry. The manufacturer will always indicate how long you should wait before working on the floor again. Be sure to check the instructions.
Step 4: Remove the Old Sealer (If Present)
Next, you should remove the existing old sealer if present. You can test if the concrete has a sealer by boiling and pouring hot water on the surface. Just a small area will do.
If the sealer was previously applied, the water will bead and remain on the surface. However, if the water quickly soaks into the concrete, then the sealer is absent and you can proceed with the next step.
Consult relevant professionals to help you remove the sealer by sandblasting. Alternatively, use a chemical stripper to remove the sealer.
Step 5: Do another round of cleaning
After the whole process of stripping and removing the existing sealer is complete, you should do another round of cleaning.
Use a lot of clean water with trisodium phosphate (TSP) and scrub the floor thoroughly. Rinse the concrete with more water and dry it off using a vacuum cleaner.
Finally, let the floor air dry for 24 hours before sealing the concrete floor with a new sealer.
Step 6: Apply the first coat of sealer
The best way to seal concrete floors cheaply will involve several stages. Just make sure there’s dry weather before beginning the process of applying the sealer.
Stage 1: Mix the concrete sealer according to the manufacturer’s instructions.
Stage 2: Pour the sealer into a paint tray.
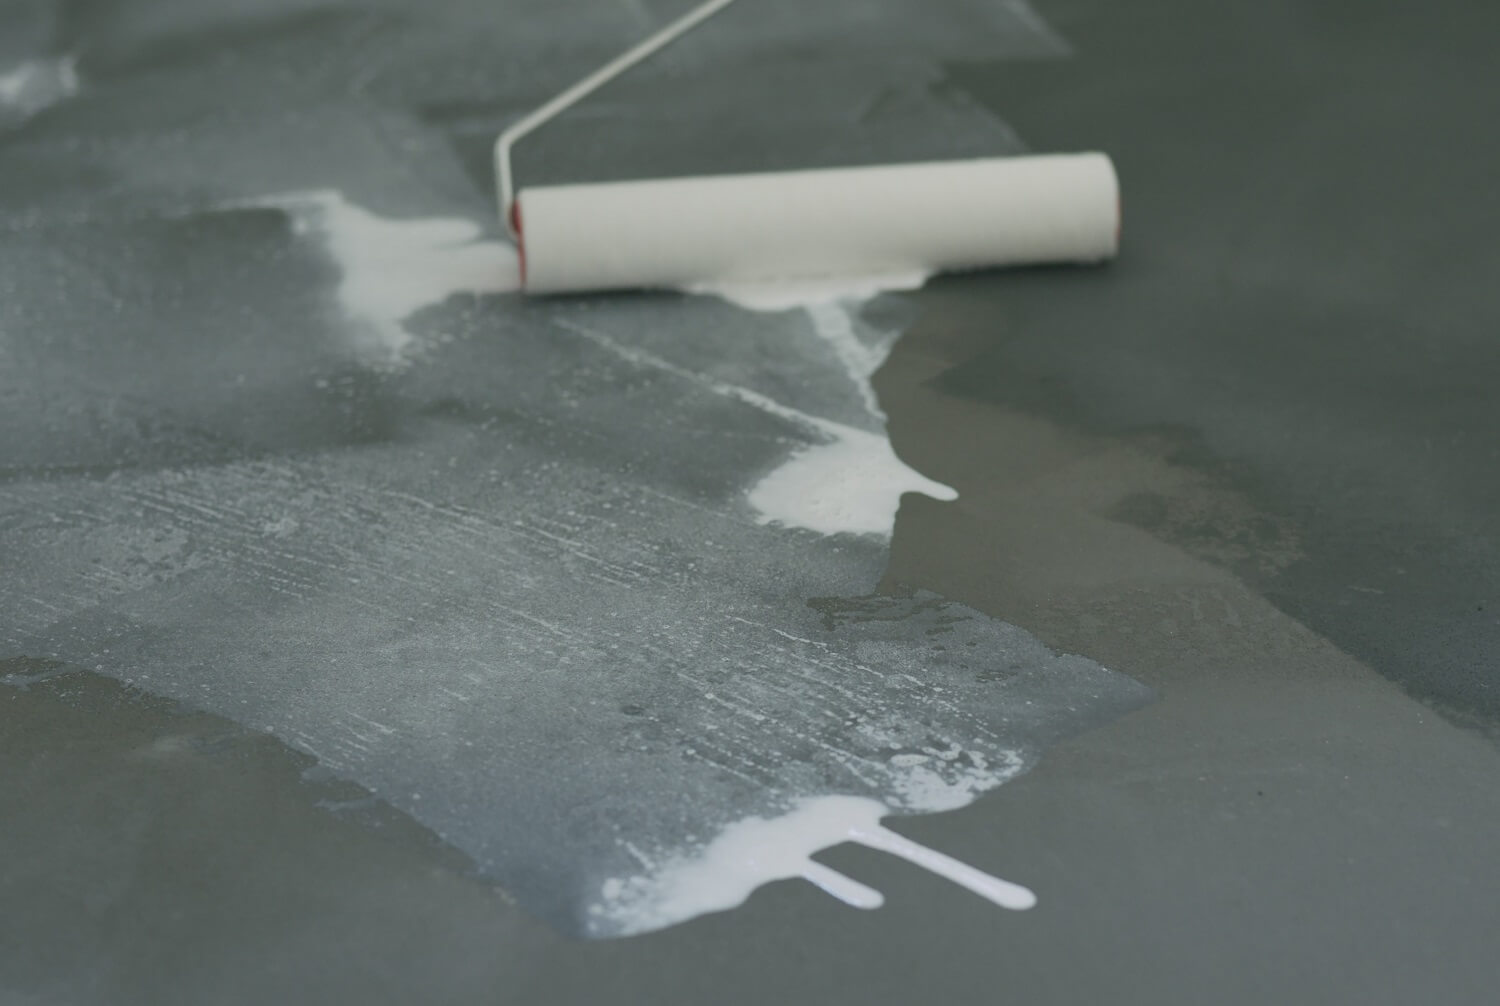
Stage 3: Dip a paint roller into the sealer and roll it over the floor to apply an even coat.
Stage 4: Allow the first coat of sealer to dry for the amount of time specified by the manufacturer.
Step 7: Apply a second coat of sealer, if desired.
The second coat of sealer guarantees consistent coverage and ensures a smooth and even finish. For the best results, paint the second coat at the right angles to your first coat.
Step 8: Allow the sealer to dry
Allow the sealer to dry completely before walking on or placing furniture on the floor. The manufacturer will often indicate the drying times on the sealer can. Be sure to refer to that as well.
FAQ on Sealing Concrete Floor
How often do you have to seal concrete floors?
For those with concrete floors, the question of how often to seal them is an important one.
The frequency with which you need to seal your concrete floor will depend on several factors, including the amount of traffic the floor gets and the type of sealer you are using.
In general, however, most experts recommend sealing concrete floors every one to three years. By sealing your concrete floor regularly, you can help to extend its lifespan and keep it looking its best.
What happens if the concrete is not sealed?
Most concrete floors come with a sealant that helps to protect the concrete from water damage, staining, and other wear and tear.
However, over time the sealant can wear away, leaving the concrete vulnerable to damage. If the concrete is not resealed regularly, it can begin to crack and chip. In extreme cases, the concrete may even start to flake away.
Besides, unsealed concrete is much more likely to absorb spills and stains. As a result, it is important to ensure that your concrete floor is properly sealed to maintain its appearance and durability.
How long do you have to stay off concrete after sealing?
After you seal your concrete floor, you’ll need to give it some time to dry.
The concrete will usually be dry to the touch within a few hours, but it’s important to wait at least 24 hours before walking on it. If possible, try to avoid walking on the concrete for 48 hours or more.
This will give the sealant plenty of time to cure and provide a durable, long-lasting finish. Once the concrete is completely dry, you can enjoy your new sealed surface for years to come.
Besides, check the sealant can for specific drying times.
Takeaway Points in Summary
- Sealing concrete floors is a great way to protect them from stains, water damage, and other types of wear and tear.
- Sealing also makes it easier to clean concrete floors, as dirt and debris will not be able to penetrate the sealant.
- There are a variety of sealants available on the market, so be sure to choose one that is right for your specific needs.
- Always follow the manufacturer’s instructions when applying the sealant to your concrete floor.
- Once the sealant has been applied, you will need to wait for it dry before stepping on the floor.
More relevant articles
Conclusion
Though it may seem like a daunting task, sealing your concrete floors is essential to preventing wear and tear. Not only will they be easier to clean, but they’ll also be less susceptible to staining. With this helpful guide, you should be able to seal your indoor concrete floor with ease.
Thanks for following along and we hope you found this post helpful. If so, please share it with your friends and family who may find it useful as well.
Also, have you had success sealing your concrete floor? Let us know in the comments below!