Are you wondering how to give a modern and aesthetic look to your house on a low budget? Then you definitely should try some DIY board and batten for personalized home decor. Your Pinterest suggestions on board and batten siding might be a sign.
It is time to try something fresh and artistic. Board and Batten siding is a very modern decor evolved from the traditional log houses.
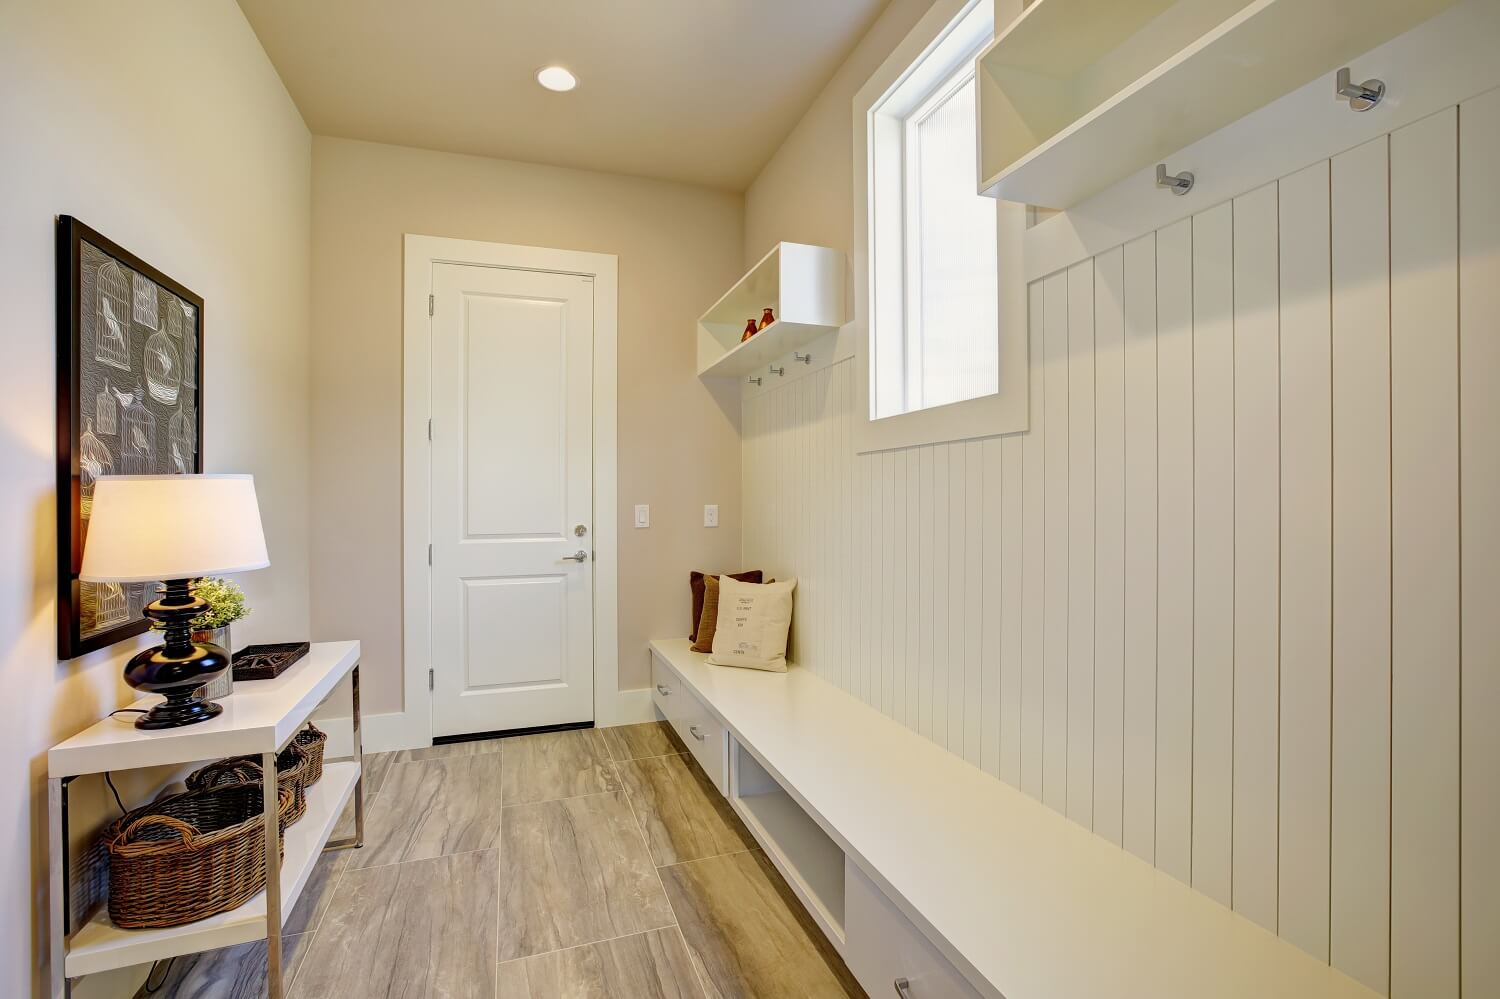
It has a Nordic European origin and was quickly loved by people around the world. Whether you are planning to renew your cozy cottage or regular house, board and batten will be the coolest option out there.
Board and Batten siding consist of wide planks of wood, known as the board. There are thin strips of wood which are known as the battens. Battens have more of a creative purpose rather than just covering the spaces between the boards.
This technique is timeless and can attract the eyes of everyone. It combines the trendy and traditional characteristics and gives your house a calm and happy vibe. If you have some experience in crafting and construction or love to try it out, you can do a board and batten siding yourself.
Let’s see the easy steps to create a DIY board and batten siding at home.
Materials and Tools Needed to Create a DIY Board and Batten Siding
You have to pick the right tools to make the process easier. Visit the nearest hardware store and buy them after asking opinions from the storekeeper. Write a list of the materials beforehand and keep them ready to save time. Don’t worry about that, we have already made the complete list for you.
The materials you need are:
- Boards and Battens (obviously!)
- Paint
- Nails (Stainless steel)
- Primer
- Board for water table
- Paintbrush (learn how to clean dried paintbrushes)
- Z-flashing
- Caulk
The tools you need are:
- Drill
- Nail Gun (or you can use a hammer)
- Jigsaw
- Chalk line
- Circular Saw
- Utility Knife
- Caulking Gun
- Tin Snips
- Measuring tape
- Level
- Stapler
- Pry Bar
If you are ready with the materials and tools, let’s start the work.
Step 1: Preparation for the Installation
Before installing the boards and battens, you have to prepare the materials and the wall. While purchasing the boards and battens, make sure that they are straight. If they are not colored, paint them in the color according to your choice.
Paint all the six sides of the boards and battens to complete the look. Apply a coat of primer before applying the latex coat. Let them dry well. While the paint is drying, you can prepare the wall and sides of the doors.
If you have existing boards, remove them and clean the wall. To remove the old board, use a knife to remove the caulk.
After that, use the hammer and pry bar to lift the existing board from the wall. There might be remnants of the caulk from your previous boards. Scrape away those remains finely.
It will help the new boards to fit in perfectly.
Take a look at the whole wall and repair what else is to be done (clear the moldings, holes etcetera). The texture of the wall is important for the boards to perfectly fit into it. If your wall is not textured, you can directly fix the boards onto it.
But if the wall doesn’t look perfectly polished, it would be better to use a panel board. You can use plywood or cardboard and cut it to the size of your wall. Now the walls are already.
Let’s proceed to the next step
Step 2: Space and alignment planning
Before you start installing the boards, you have to plan the spacing and leveling. The wood will expand or contract according to the seasons. We have to keep this in mind while planning the spacing.
Our goal is to install the boards neat and aligned, without hindering their natural expansion and contraction. Unlike the old ways of fastening nails towards the edge, you can fasten them towards the center.
If you fix the boards near to the edges, the boards may crack and split after some years. The narrow space between the boards will be covered by battens.
This way we can save the boards from suffocating in a closed space. If you are planning to use nails to fix the board, pre-drilling the holes is a clever idea. This helps us to avoid causing splits on boards.
Spacing also has an important effect on the aesthetic of the room. Wider spacing of battens on wider boards gives the wall a simple but elegant look.
Step 3: Installing the Boards
The first step is to install a skirting board or water table to manage the leveling. Install the water table at the very bottom side of the siding. Make sure of the level of the water table before installing it. After that, install a drip edge over the top of the water table.
A metal flashing would be ideal for this.
Now it’s time to install the boards:
Start from the corner of the wall. Place the first board against the wall and check if it is on the straight level. The width of the boards should be equal. But you can make slight changes if you want. Once it is in the right level, fasten the boards tightly.
Fix the board firmly with two nails on the top side and two on the bottom along the length. Once you are done with the first board, you will feel confident about this. Keep up the great work and continue installing the rest of the boards.
Cut the boards into appropriate shapes when it comes to tricky areas like corners and sides of the doors. For a clean look, apply another coat of paint over the installed boards and give them time to dry.
Step 4: Installing the Battens
Make sure to install the top trim pieces before you start installing the battens. Carefully place the batten on top of the spaces between boards and check the level. Secure the battens well with nails along the length. Once you are done with installing all the battens, there you are!
The wall makeover is completed.
Frequently Asked Questions (FAQs)
1. How many fasteners should I use per board?
It is very important to keep the boards and battens in their place. It would be ideal to fasten the boards every 18 inches along the length of the board.
2. Which wood is the best for board and batten siding?
While buying the boards, go for the ones which are resistant to decay and can last for a long time. Cedar is popular among board and batten lovers.
You have to treat the wood properly after buying it. Proper treatment of the wood keeps the termites and other insects away.
3. Which kind of nails should be used?
You can buy exterior-grade nails which are made especially for sidings. Also, the nails should be compatible with the wood you chose for the boards and battens. If the nails are not compatible with the wood, there will be stains on the fastening spots after a long time.
The reaction of the nails with the wood causes the color change. To avoid wood splitting while fastening, choose the siding nails or pre-drill the holes halfway. Calculate the length of the nails according to the width of the boards and battens.
You can also use screws to fasten instead of nails. Desk screws will do the job well. But you have to make sure that the screws are long enough to reach the baseboard. The nails and screws should be made of stainless steel or galvanized.
4. What are the other materials that can be used for boards and battens?
Nowadays, a lot of options are available for boards and battens.
You don’t have to always go for the traditional wood option. Boards and battens are made in materials like engineered wood, fiber cement, and vinyl.
Fiber cement boards are longer lasting than wood. There is no stress of termite attacks. But they are heavier than wood. It would be difficult to lift them up and fasten them to the wall. Wooden planks have originality and a natural look in them. They are easy to handle too.
Conclusion
If you’ve read the above steps, now you are ready to give your house a brand new and beautiful look. If you successfully complete it without any mistakes, the boards will last for years with the least maintenance. But always keep in mind that you have to be careful when handling the hardware tools.
Most of the tools are not daily usage ones, so you have to be extra careful. Wear gloves, goggles, and an apron before you start the work.
Get the help of friends or family for an extra hand and also to make the work more enjoyable. If you can’t complete it one day, do not rush. Take your time and enjoy the process.
You can make everyone go “wow” with the cool-looking walls.
Resources