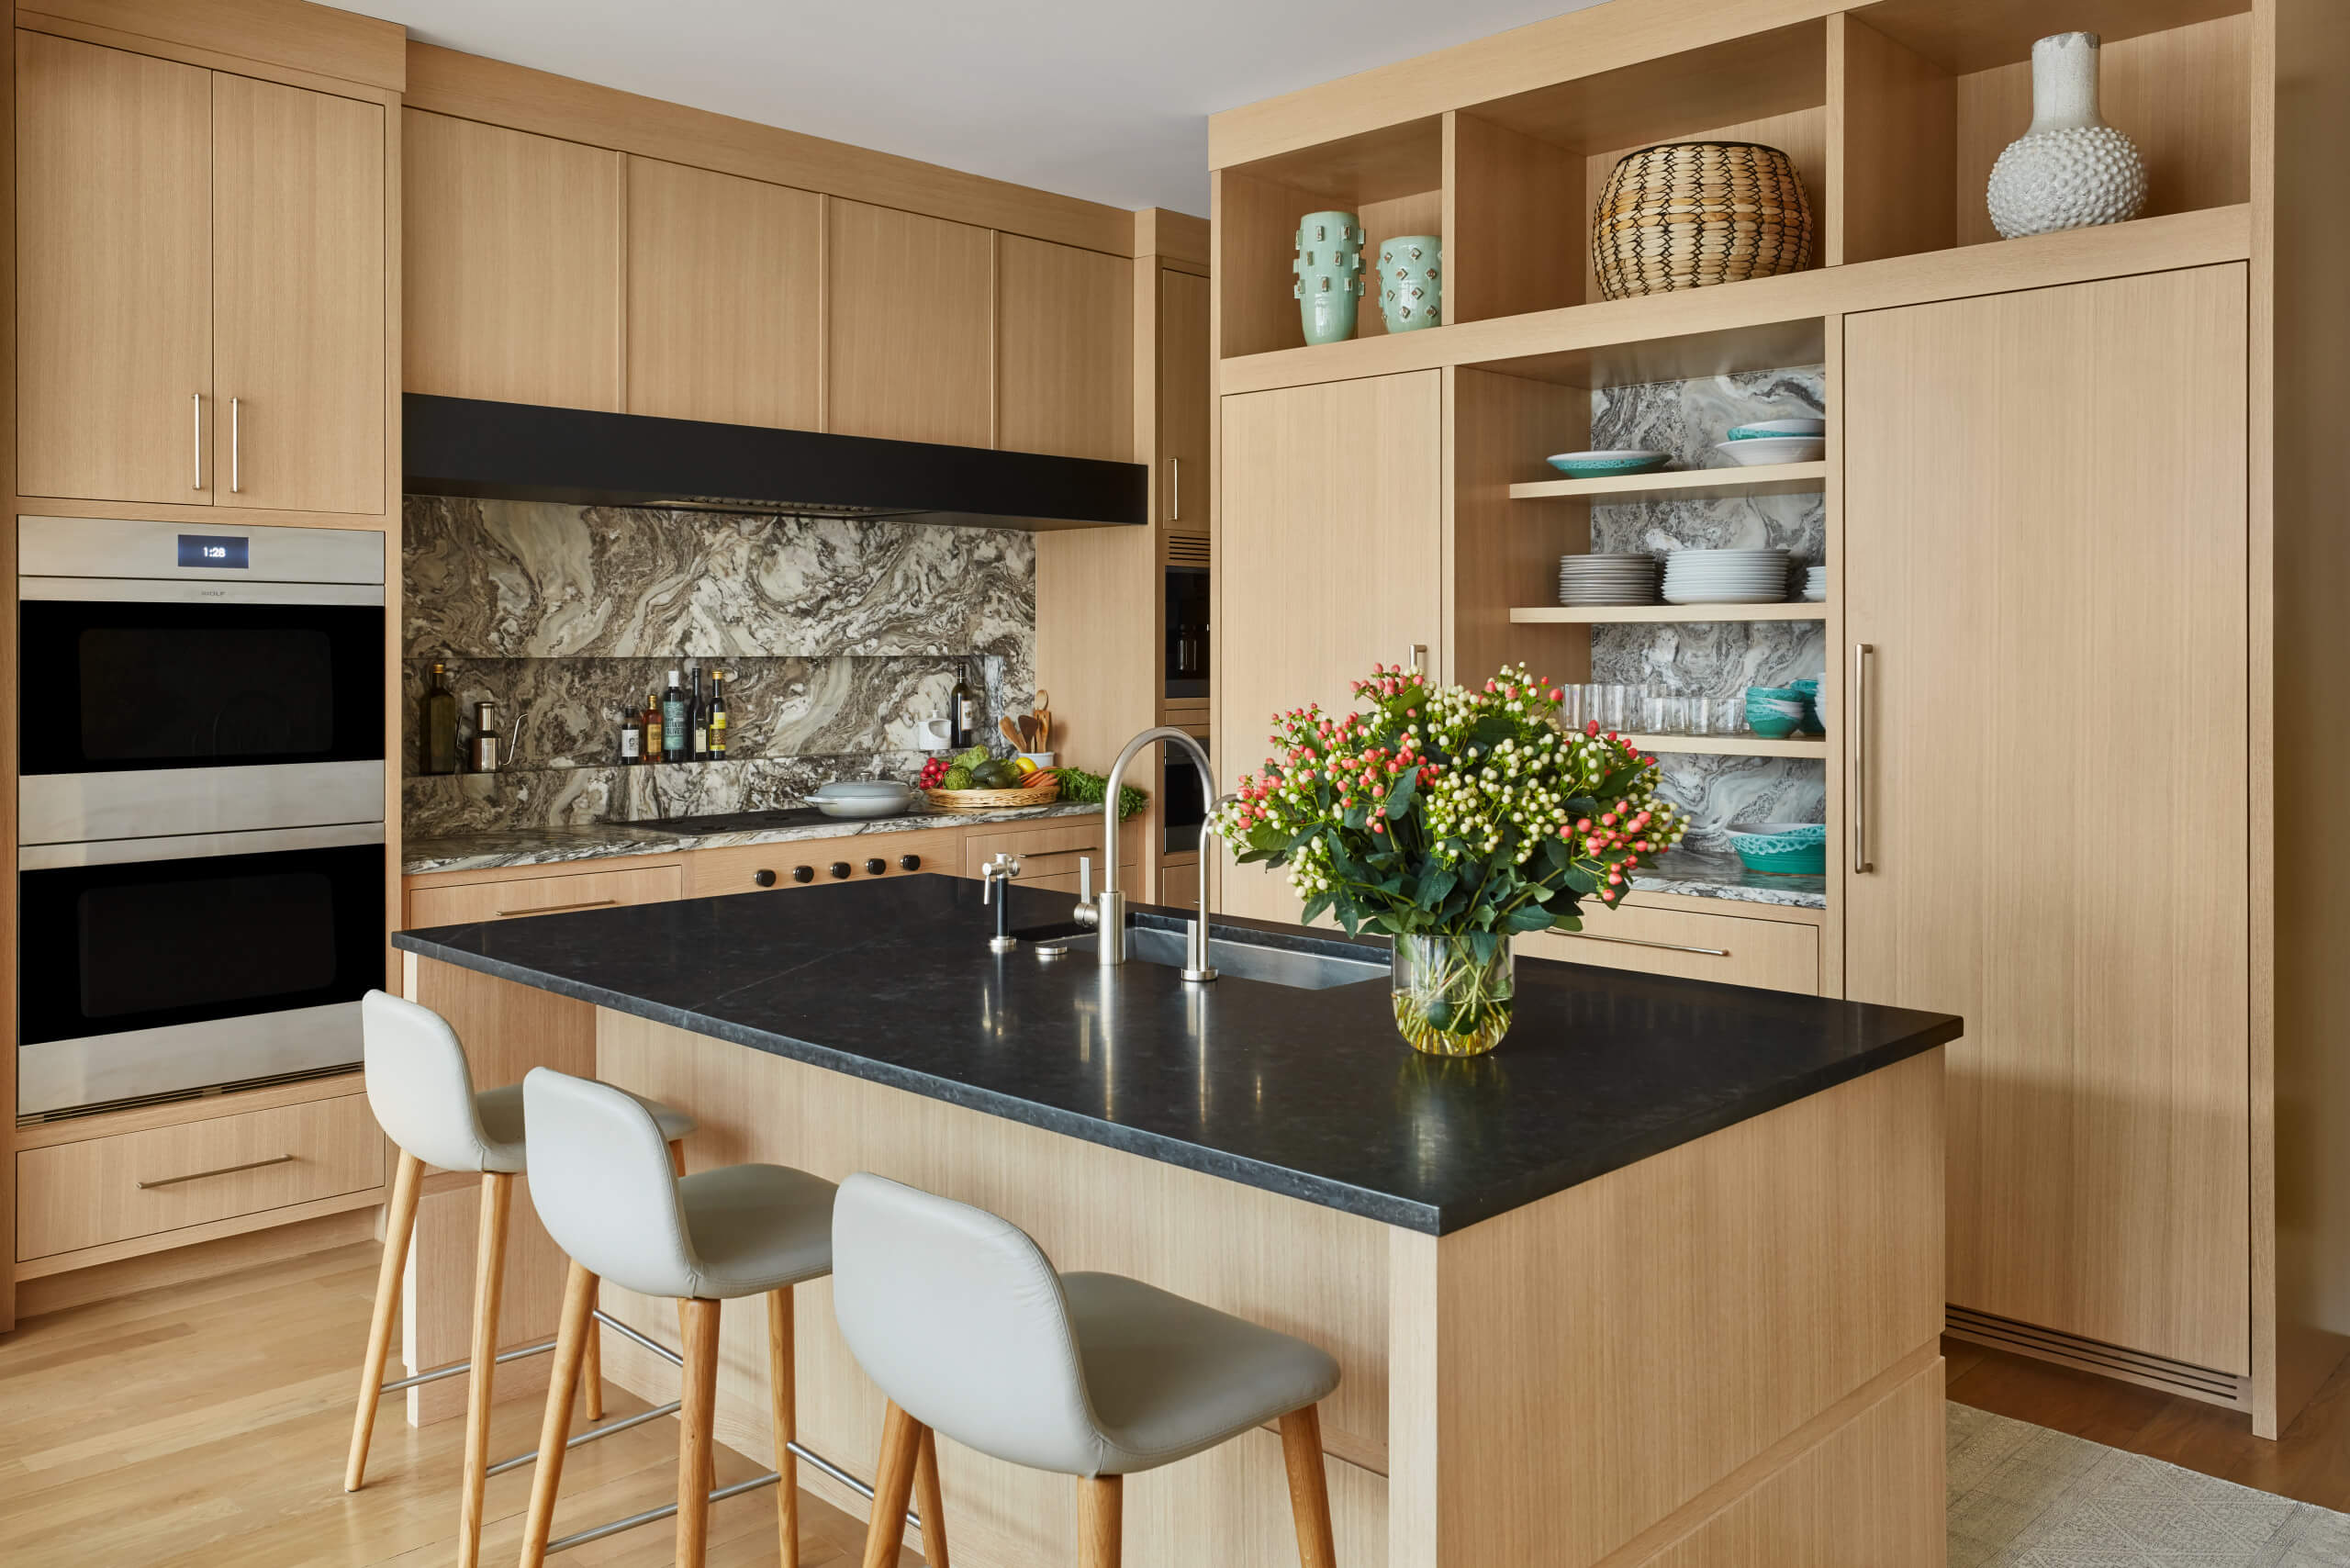
I used to think open shelves would make my home look effortlessly stylish. You know, the kind of shelves where everything looks curated, airy, and somehow perfectly imperfect. But the reality? Mine quickly became a magnet for random mugs, receipts, half-read books, candles, and all the little things I didn’t know where else to put.
For anyone who has ever styled open shelves, there’s that moment when you step back and think, “Why does this look messy instead of beautiful?” You’re definitely not alone. The tricky part of organizing open shelves is that they have to be both functional and decorative.
Every item is on display, which means it gets cluttered fast.
Over time, I realized that organizing open shelves is about giving your shelves breathing room, creating balance, and choosing what deserves to be seen. It doesn’t matter if you own fewer things or you have a perfectly minimalist home.
In this post, I’m sharing simple tricks for How to Organize Open Shelves that helped me keep mine from feeling crowded or chaotic. These are easy DIY, real-life ideas that work whether your shelves are in the kitchen, living room, bedroom, or even a tiny apartment.
How to Organize Open Shelves Using Simple Styling and Storage Tricks
Start with Zones, Objects Later
The biggest mistake I see on open shelves is treating them like general storage. For instance, you need a spot for the blender, and ooh, there’s one on the shelf. What follows, even before you know it, is a candle next to the blender. Before long, you’ve got a shelf that looks more of a junk drawer that lost its front panel.
Instead, think in zones and decide what each section is for before you put a single item on it. Maybe the top shelf is for display only, the middle shelf is for daily-use dishes, and the bottom shelf handles bulkier items like serving bowls or small appliances.
Once each shelf has a job, it’s much easier to say no to things that don’t belong there.
This is the same logic retail stores use, and it’s why a well-merchandised boutique never feels chaotic even with hundreds of items on the floor.
Learn about Floating Shelving Ideas in 9 Floating Shelves Styling Ideas That Aren’t Overdone
Group Like with Like and Vary the Heights
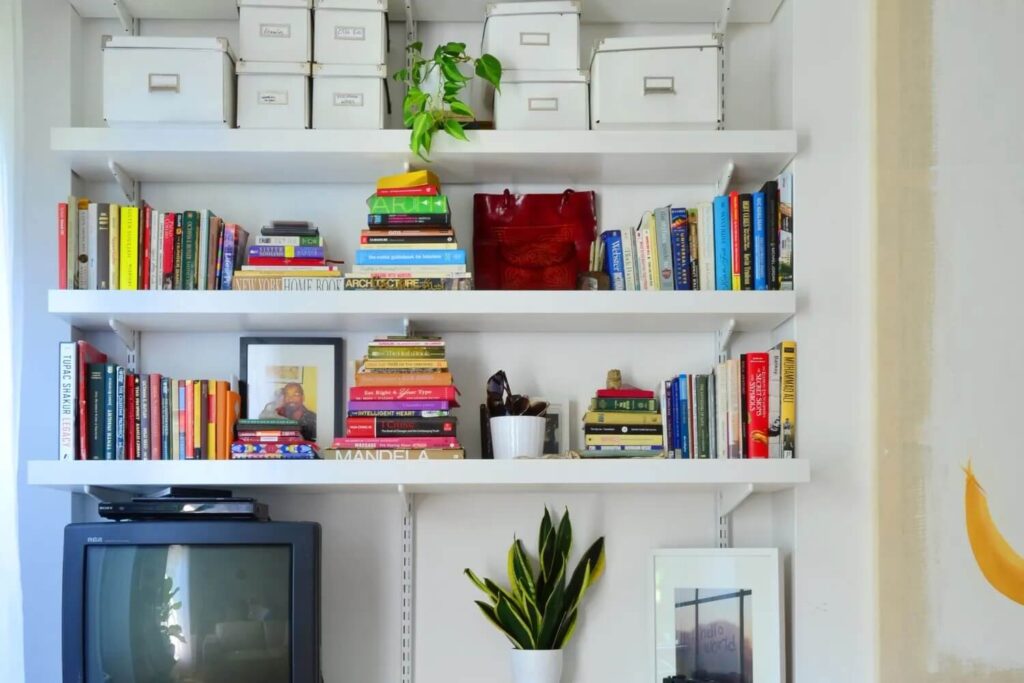
At this stage, cluster similar items together instead of scattering them evenly across the shelf. E.g., three cookbooks stacked in one spot look organized, but the same cookbooks spread across three different shelves look like you forgot where you put things.
Within each little grouping, vary the heights. I love working in odd numbers; it creates a sense of visual rhythm that a straight, even row can’t match. Your eye moves through the grouping instead of skating flatly across it.
Pull three or four items you already own, arrange them by height instead of by type, and step back. You’ll likely notice it looks more finished immediately, even though you haven’t added or removed a thing.
Leave Room to Breathe
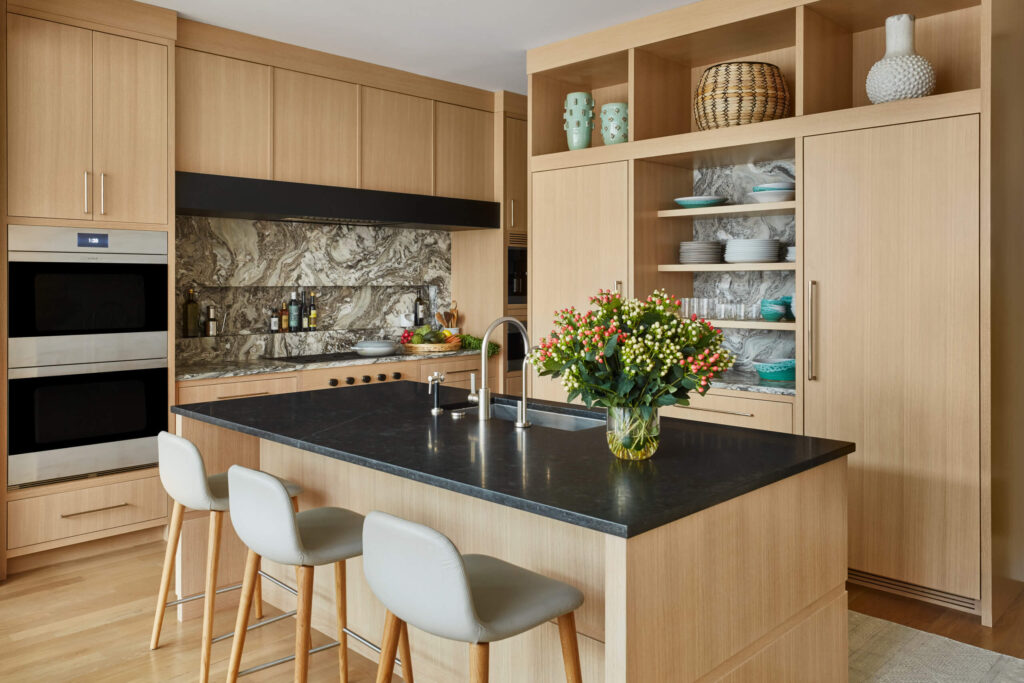
When you have open shelving, it’s tempting to use every inch of it. That’s what it’s for, right? Except a shelf packed from edge to edge starts to look like storage overflow no matter how nicely you’ve arranged it.
A good general target is to fill about two-thirds of the visible space and leave the rest empty (the art of negative space). The negative space allows your eye to rest, and it makes whatever you put on display feel more deliberate.
Think about how a good piece of art hangs on a wall with plenty of blank space around it. The space is part of what makes the piece feel important.
If a shelf feels crowded no matter how you arrange it, that’s usually a sign you’re trying to store too much on it rather than a sign you need better arranging skills. To correct this, pull a few things and put them somewhere closed off instead.
Limit Your Palette
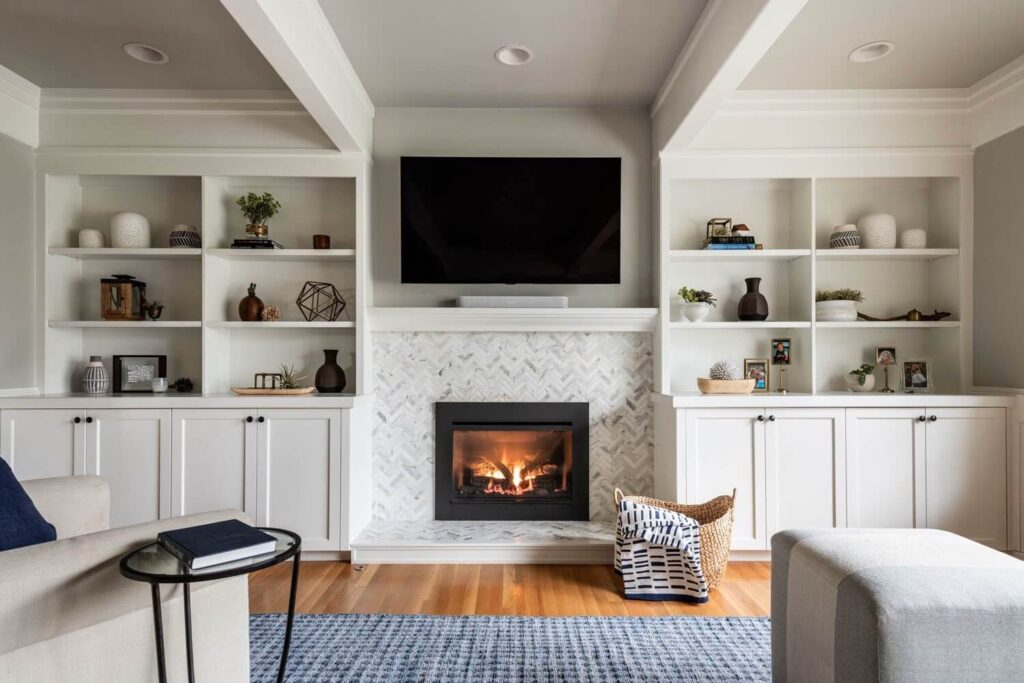
Try picking two or three tones that repeat across the shelf. This can be warm neutrals with one accent color, or all-white ceramics with wood and greenery mixed in. You don’t need to buy anything new to pull this off. Please pull colorful outliers off the shelf and store them in a cabinet for when you actually want to use them.
The same idea applies to textured materials. For example, a mix of glass, ceramic, wicker, and wood can look layered and interesting, but many different textures feel overloaded.
So, it’s better to have fewer more cohesive textures rather than more textures that end up ruining the view.
Not Everything Deserves a Front Row Seat
Open shelving works best when it displays things you’re genuinely proud to look at, and stores the rest somewhere less exposed. But this doesn’t mean everything practical has to disappear. Rather, give the unglamorous stuff a beautiful container instead of letting it sit out raw.
This is where baskets and boxes become heroes of open shelving. Batteries, chargers, spare screws, that pile of takeout menus, all of it can be stored in a lidded basket that sits right there on the shelf, doing its job without dragging down the whole look. You get the function of open storage with the visual calm of a closed cabinet, at least for the stuff nobody needs to see.
Treat Books as an Own Category
Start by stacking a few books horizontally and using the flat top as a little pedestal for a small object, then leaving the next cluster of books upright. Turning a few spines inward so only the pages show is another trick stylists use when a book’s cover is more distracting than pretty.
This might sound like a small move, but it can change the whole rhythm of a shelf.
If you’re someone with a genuinely large book collection, you don’t need to hide that. Just break it into smaller clusters across multiple shelves rather than one long unbroken row, and let some breathing room and a few non-book objects punctuate the collection here and there.
Treat it Like a Living Thing, Not a One-Time Project
Here’s something I’ve come to learn about open shelving. The shelf you style on a Sunday afternoon won’t look the same by Wednesday. You’ll find a recent mail on it, a kid’s art project ends up there because there was nowhere else to put it in the moment.
Does this mean you’ve failed? Not really! That’s not a failure of your system; it’s what it means to live in a house.
To avoid such disappointments, take a moment to put stray items back where they belong and check whether anything needs to be moved into a basket. Moreover, rotate seasonal items in and out too, swapping a few pieces every month or two so the shelf doesn’t go stale.
A shelf that shifts slightly over time actually looks more lived-in than one that’s frozen exactly as it was the day you styled it.
Conclusion
That’s really the heart of How to Organize Open Shelves Without Looking Cluttered. It’s about giving each object enough space to be seen on its own terms. It’s not about owning fewer things or hiding your personality behind matching bins.
A shelf crammed edge to edge reads as chaos no matter how nice the individual pieces are. The same shelf with a little air around each grouping suddenly reads as organized and functional.
I still rearrange mine more often than I’d like to admit; some weeks it’s tidy stacks and a single plant. Other weeks, a stray coffee mug ends up parked there because I ran out of counter space. And that’s fine because my overall aim is to build a system that’s loose enough to bend with real life, but structured enough that it never tips into visual noise.